FLOWERIST · ARRANGING
Your first arrangement: a line, a flower, some breathing room.
A small arrangement is a useful starting point. You can see what each stem contributes, and changing one thing has a clear effect. This guide is a creative exercise, rather than a rule from a particular school of ikebana.
Start with the vessel
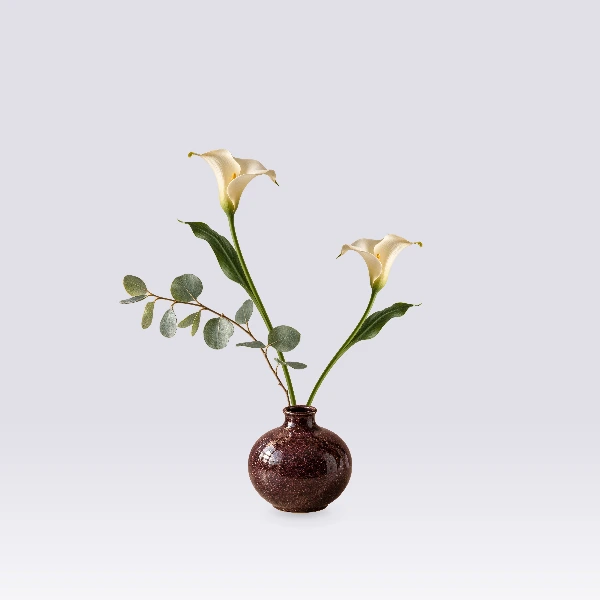
Choose a vase before adding flowers. A narrow opening helps a few stems read as distinct lines; a wider bowl or urn gives fuller flowers room. Look at the whole silhouette, not just the color of the vase. In Flowerist, change the vessel beside the canvas and compare how the same flowers feel.
Let one stem draw the main line
Add a branch, a long flower stem or a leaf with a clear curve. Place it slightly off center and give its tip somewhere to go. Try a taller upright line, then a lower slant. Leave some empty space around it so its shape stays visible.
Add a focal flower, then one quieter companion
Use one bloom to draw the eye. Its height does not have to match the branch. Add a leaf or smaller flower that connects the bloom to the vessel. If the three elements compete, move or remove one before adding more. Symmetry is an option, not an obligation.
Trim at a connection
Select the material you want to work on, then draw the scissors across the connecting stem. The cut makes two independent pieces; move the offcut away and decide whether to keep it. Use Erase for fine details, and Undo to compare both versions.
Pause before filling every gap
A gap can make the next flower feel more intentional. Zoom out, look at the vessel and flowers together, and ask where the eye stops. Try a second version with less foliage or a wider space between two blooms. Save the arrangement with a free account when you want to return to it.